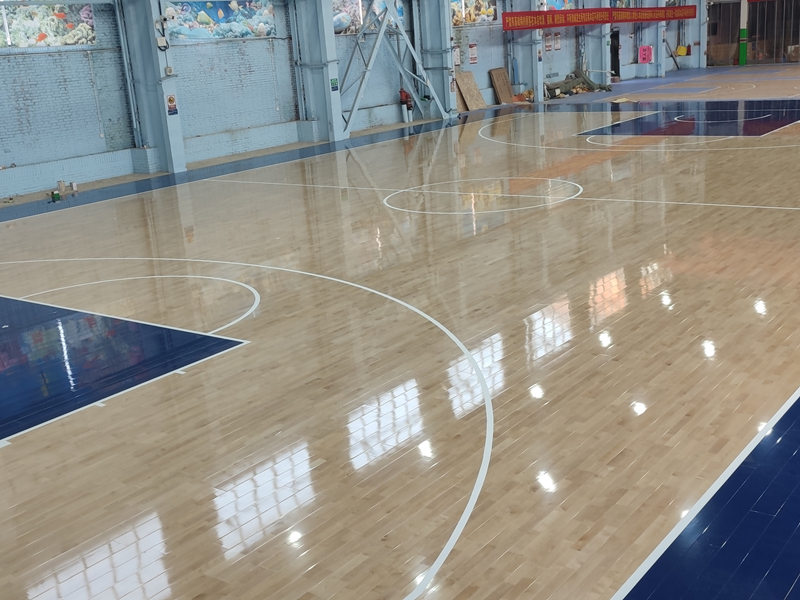
Setting up a portable hard maple sports floor requires precision but is achievable with a structured approach. Begin by selecting a level, dry indoor space free of debris. Lay a vapor barrier to protect the wood from moisture, a common cause of warping. Next, assemble the underlayment—typically foam or rubber pads—to enhance shock absorption and stability.
Start installing panels from one corner, aligning tongue-and-groove edges and securing them with locking mechanisms. Use a rubber mallet to gently tap panels into place, ensuring tight seams. For larger courts, incorporate expansion gaps to accommodate temperature changes. Once panels are locked, apply court lines using non-toxic, abrasion-resistant paint. Finally, inspect the floor for unevenness or loose connections before use.
Disassembly is equally straightforward: remove lines, unlock panels, and stack them for storage. Regular maintenance, such as sweeping and occasional refinishing, extends the floor’s lifespan. With proper handling, portable hard maple floors retain their performance and appearance for years, making them a cost-effective choice for dynamic venues.

Leave a Reply